One of the many features of Mikrotik router is, to send SMS using GSM modem. Using this feature, we can send notifications of any event in the form of SMS to the user's mobile phone.
And to send this SMS, mikrotik router has to be connected to the mobile network. We can easily do this connection using a USB modem.
However, not all USB modems are supported by mikrotik router. Mikrotik company has published a list of all the modems that will support, on their own website. The link is given below:-
In addition to the models mentioned in the list, it also supports almost all the modems available in the market. As we have used a simple modem in this tutorial, which is not in the compatible list of mikrotik. However, this modem supports by router. If a modem is compatible with the mikrotik router, then the router will show the information of that modem in its USB list, when the modem is connecting to the router,. It will also create a "PPP Client Apapter" for him. We used a modem from Qualcomm and it shows up in the middle of the list.

To view this USB list, we first go to System -> Resource. We can see this list by clicking on the USB button there.

In addition to showing in this list, the router will create a “PPP Client” adapter for our modem and show it in the PPP interface list. However, this interface will remain disabled.

If a modem does not automatically detect by router, then we must assume that, this modem is not mikrotik compatible.
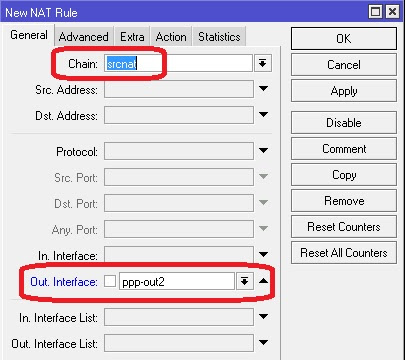
Now we will open the adapter to connect the modem and provide the APN information of the modem.

This APN information can be obtained from the SIM operator. Another thing we need to note is, whether the modem port is automatically detected. If not, then we have to manually select it.

Then we go to "Advanced Mode". For that, you just have to click on the “Advanced Mode” button.

After accessing the “Advanced Mode” we will go to the “PPP” tab. There we have to enter a dial number in the “Phone” field. Usually the number is "* 99 #". The number may also change from country to country. You can get this number from SIM operators. However, in most countries the number is "* 99 #".

After enabling and applying, the status of our adapter will change to "waiting for packets".

If everything is OK, after a while the status will be changed by "Link established" and then "connected".

Mikrotik communicates with the modem using a specific channel and sends SMS through that channel. The user has to specify this channel number while sending SMS. If for some reason the mikrotik router cannot communicate with that channel, then the following error notification will be showed.
Couldn’t perform action – no such channel (6)

Many users make a mistake in entering this channel number. Here, they assign the channel number of the USB port. One thing to note here is that , even though we select the modem's USB as the port when sending SMS, but the router basically uses the serial port channel number as SMS sending channel. Does not use channel number of USB port. So when we assign the channel number of the USB port, the router fails to send an SMS using that channel and shows the error message.
So the solution to this problem is, we have to use the channel number of the serial port. We will select USB as the port and assign the number for the channel of the serial port.

We can find out the channel number of a port from the "port list".

And we will get access to “Port List” from “System - Port” location.

After the modem is successfully connected to the router, we can send a message with the help of some script. These scripts will run when it will meet some criteria.
For example, we will monitor our gateway link using mikrotik's netwatch tool. The IP of our gateway is 8.8.8.8. Whenever our gateway link will go down, we will get a notification in the form of SMS. In the same way, when the link will go up, the notification will come in the form of SMS.
To do this we will create two different scripts. One script will work if the link goes down and the other will work if the link goes up. And this link status will be checked by the "netwatch" tool.
The script for link down is: -
tool sms send message="link down" phone-number=your_mobile_number channel=your_channel_number port=Your_port
For example:-
tool sms send message="link down" phone-number=123456 channel=3 port=usb3
The script for link up is: -
tool sms send message="link up" phone-number=your_mobile_number channel=your_channel_number port=Your_port
For example:-
tool sms send message="link up" phone-number=123456 channel=3 port=usb3
Below, the whole process is shown graphically: -
Connect your mikrotik via winbox. Then go to "Netwatch" from "Tools".

Now click on add (+) sign to create a new entry.

Now, our host address will be 8.8.8.8 (as per our example). Router will check this link by "1" minute interval. If the router doesn't get any response under 1000 millisecond, then the link will be considered as down.

Now, we are going to add "Up" script and "Down" script. If the link goes down, then down script will be executed and the same time, when the link will get back then the up script will be executed.
To add "Down" script, we have to navigate "Down" tab. And there we will write the script to send sms to mobile phone.

Now, to add "Up" script go to "Up" tab.

Finally then, click on "Apply" and then "Ok". The entry will be look like this:-

From now on, if the link status goes down, then it will execute "Down" script and when the link get back, then it will execute "Up" script.
We can send message graphically without script. Go to "SMS" from "Tool" menu. And click on "Send SMS" from that interface.

Done.